

MPC Star Trek Klingon Bird-of-Prey Model Rocket Build
The MPC Star Trek Klingon Bird-of-Prey is an easy build and good model rocket for the beginner. The rocket is a decent size with an overall length of 20.9 inches, a diameter of 1.38 inches, and weighs 2.6 ounces. Recommended motors for this flying model rocket include the Estes/Quest A8-3, B6-4, or C6-5. The rocket has a payload section that can easily accommodate a small altimeter or other small items. Another nice feature is that It comes pre-finished with a color vinyl wrap on the body tube and colored plastic fins and nosecone. I'm going to add an ejection baffle from Qualman Rocketry and a Kevlar shock cord to eliminate the need for flame-retardant recovery wadding to protect the parachute.
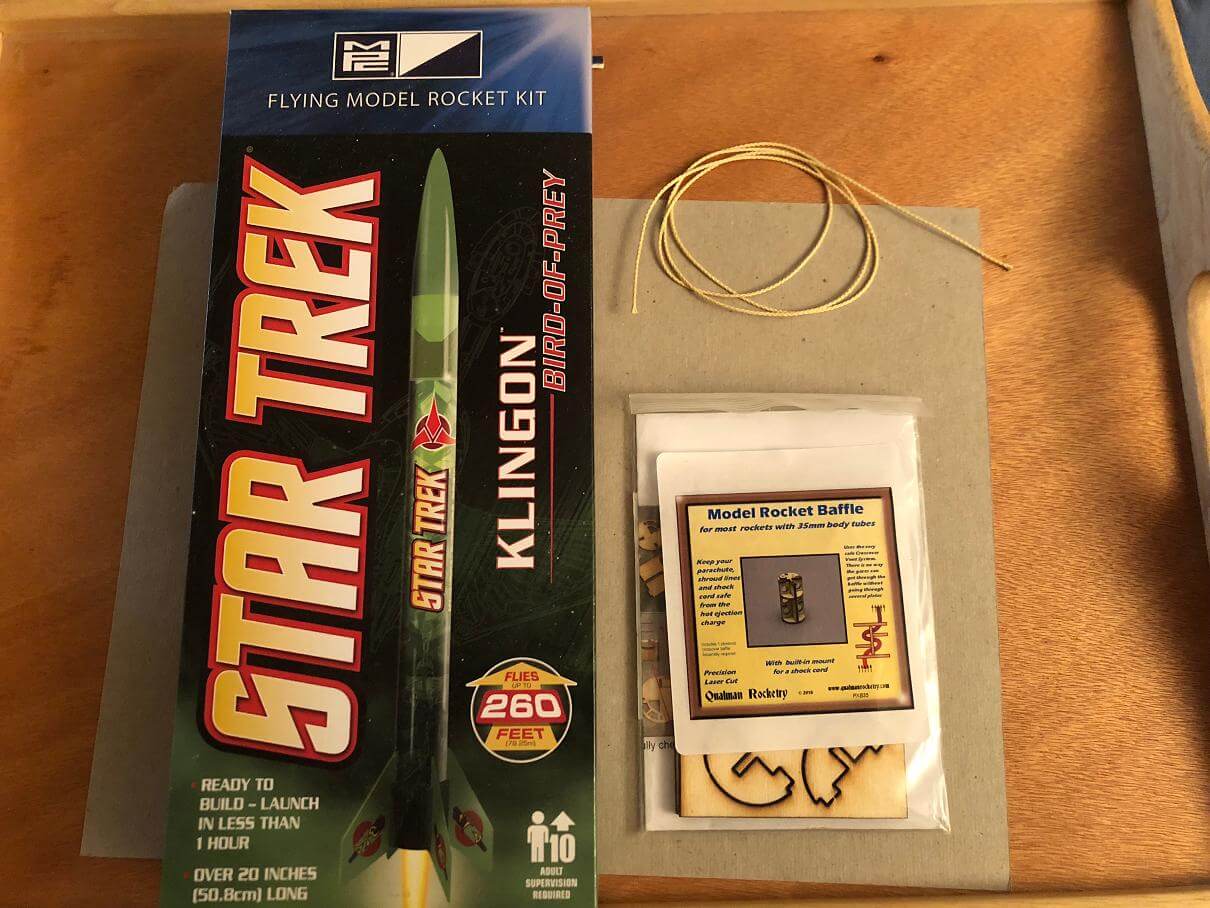
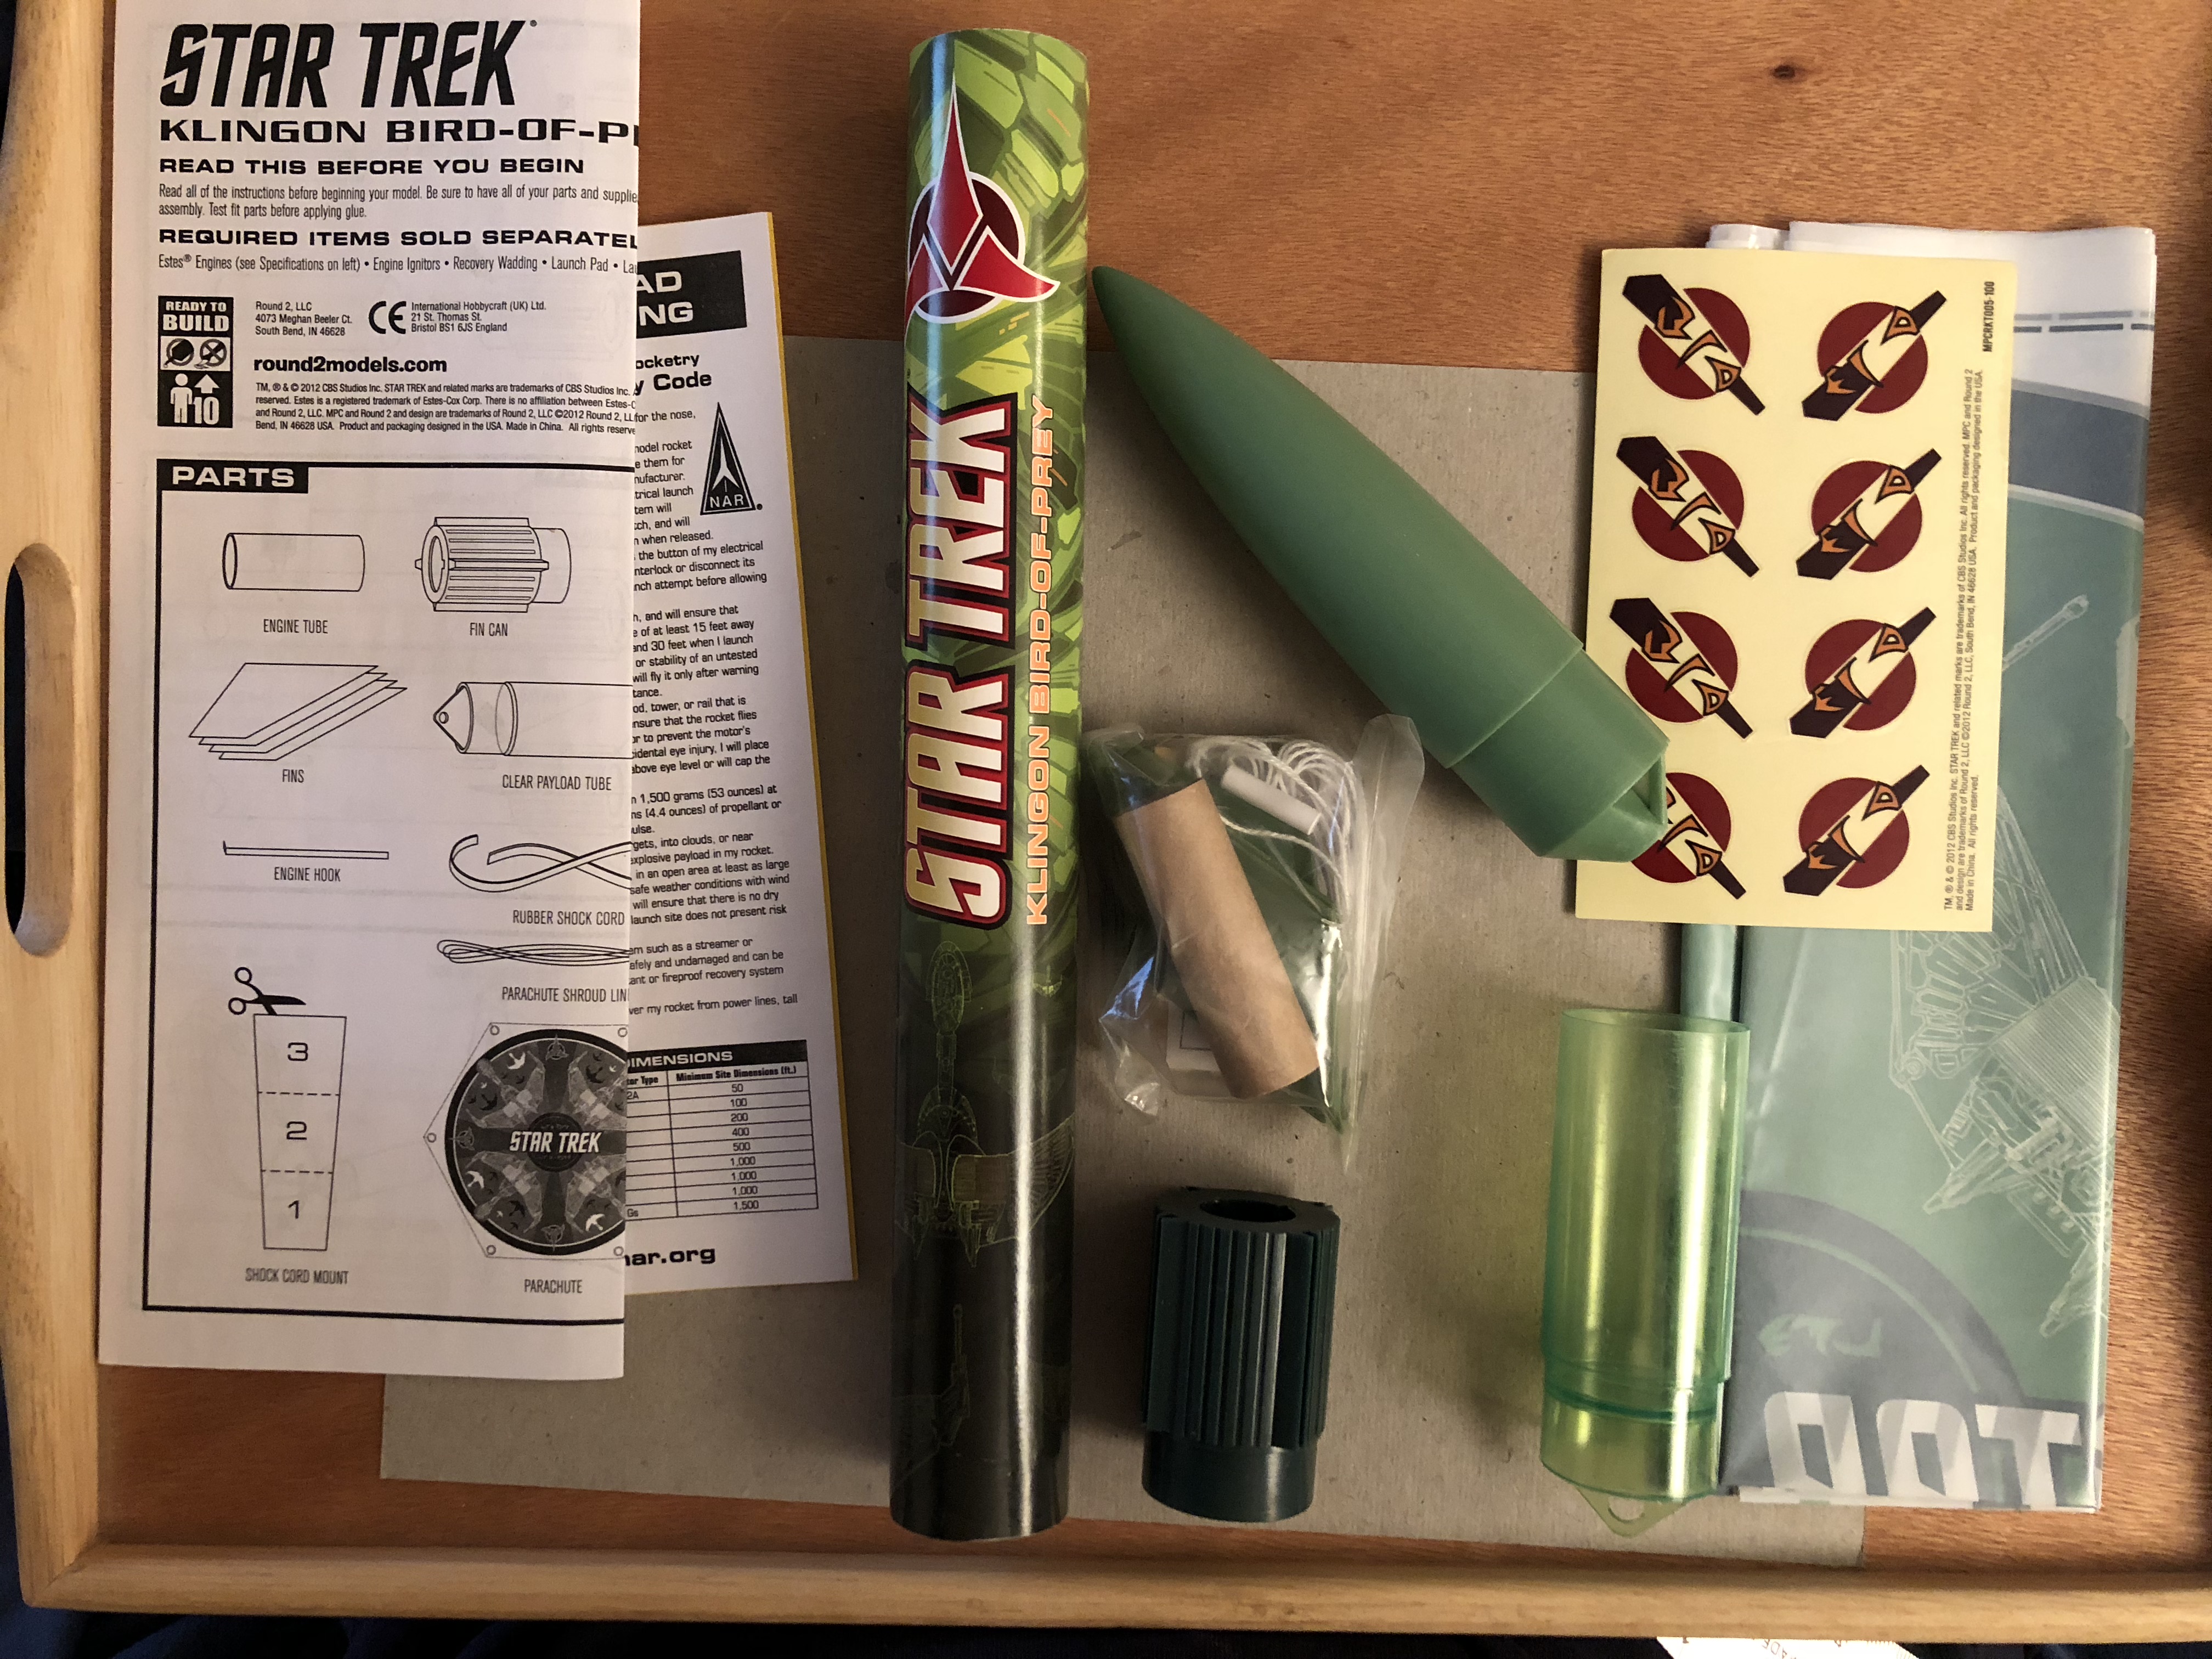
The kit comes in a nice box and contains what you would typically expect from a simple rocket: Instructions, nosecone, body tube, fins and fin can, engine mount assembly, an 18 inch parachute, and a few stickers to dress up the fins.
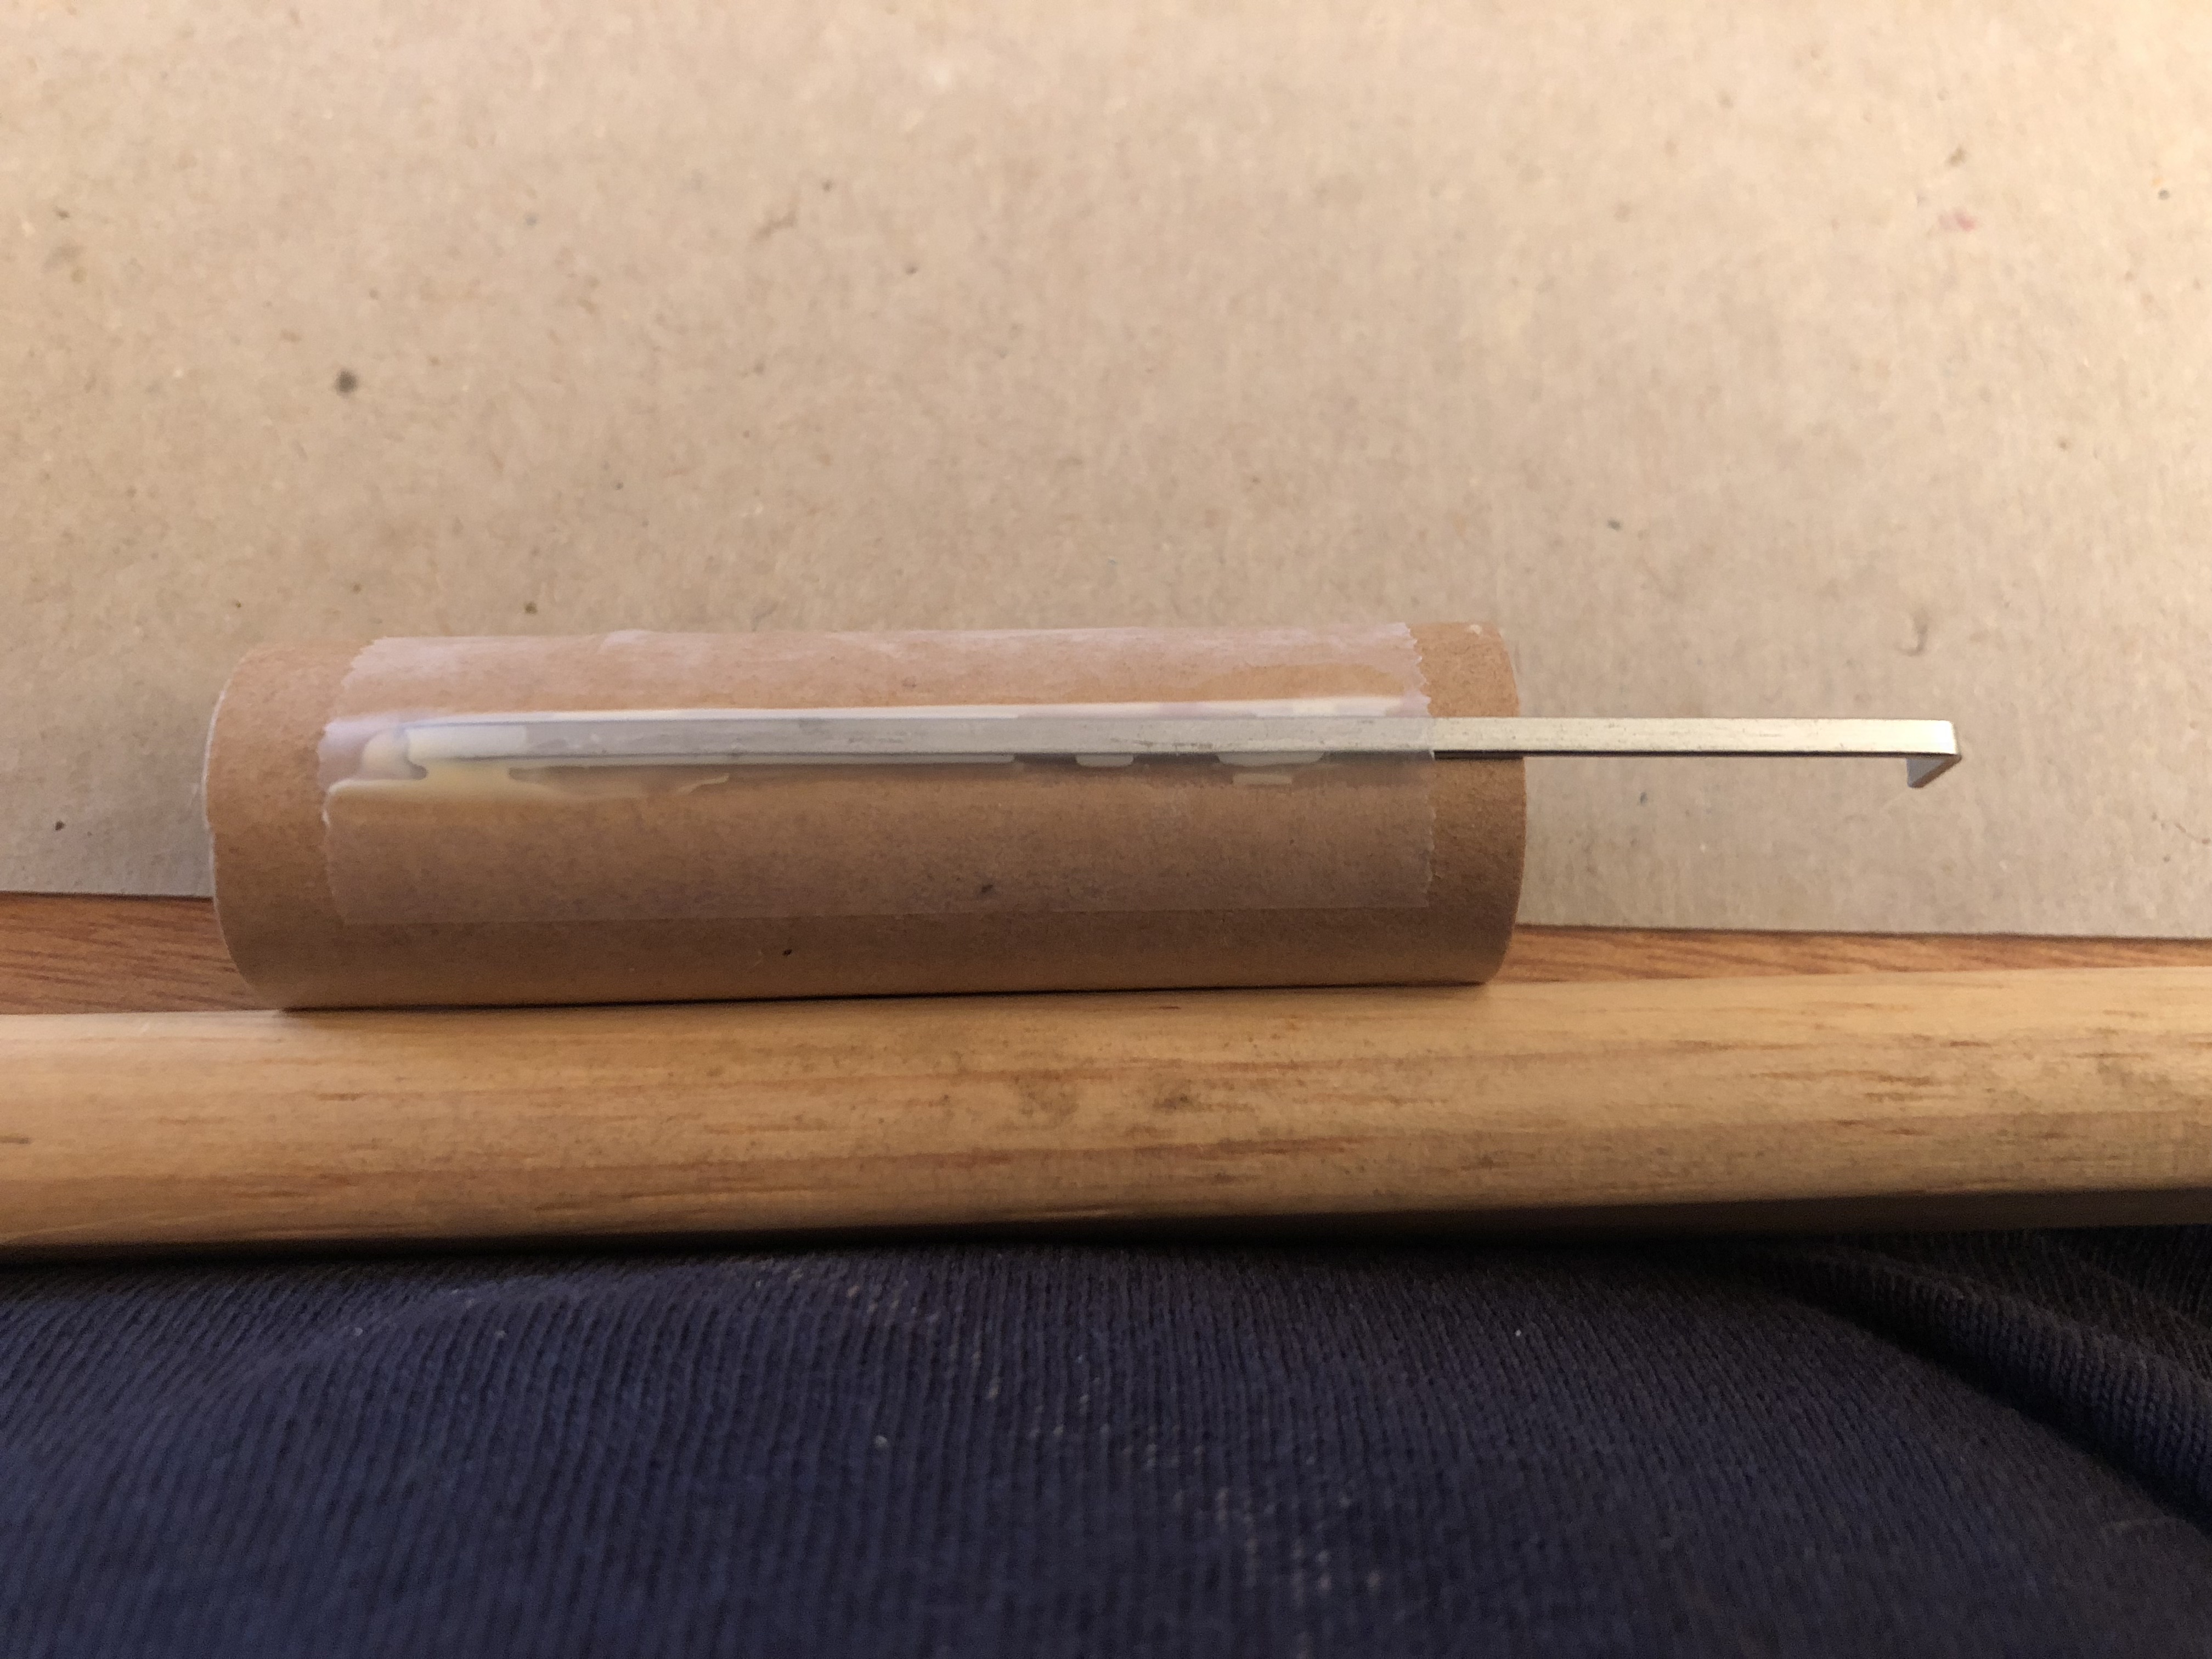
The first step is to attach the motor hook to the motor tube using a bead wood blue and a strip of scotch tape. Normally I would wrap masking tape around the hook, but there is not enough clearance for the thickness of the tape when it comes time to put the motor mount in the fin can.
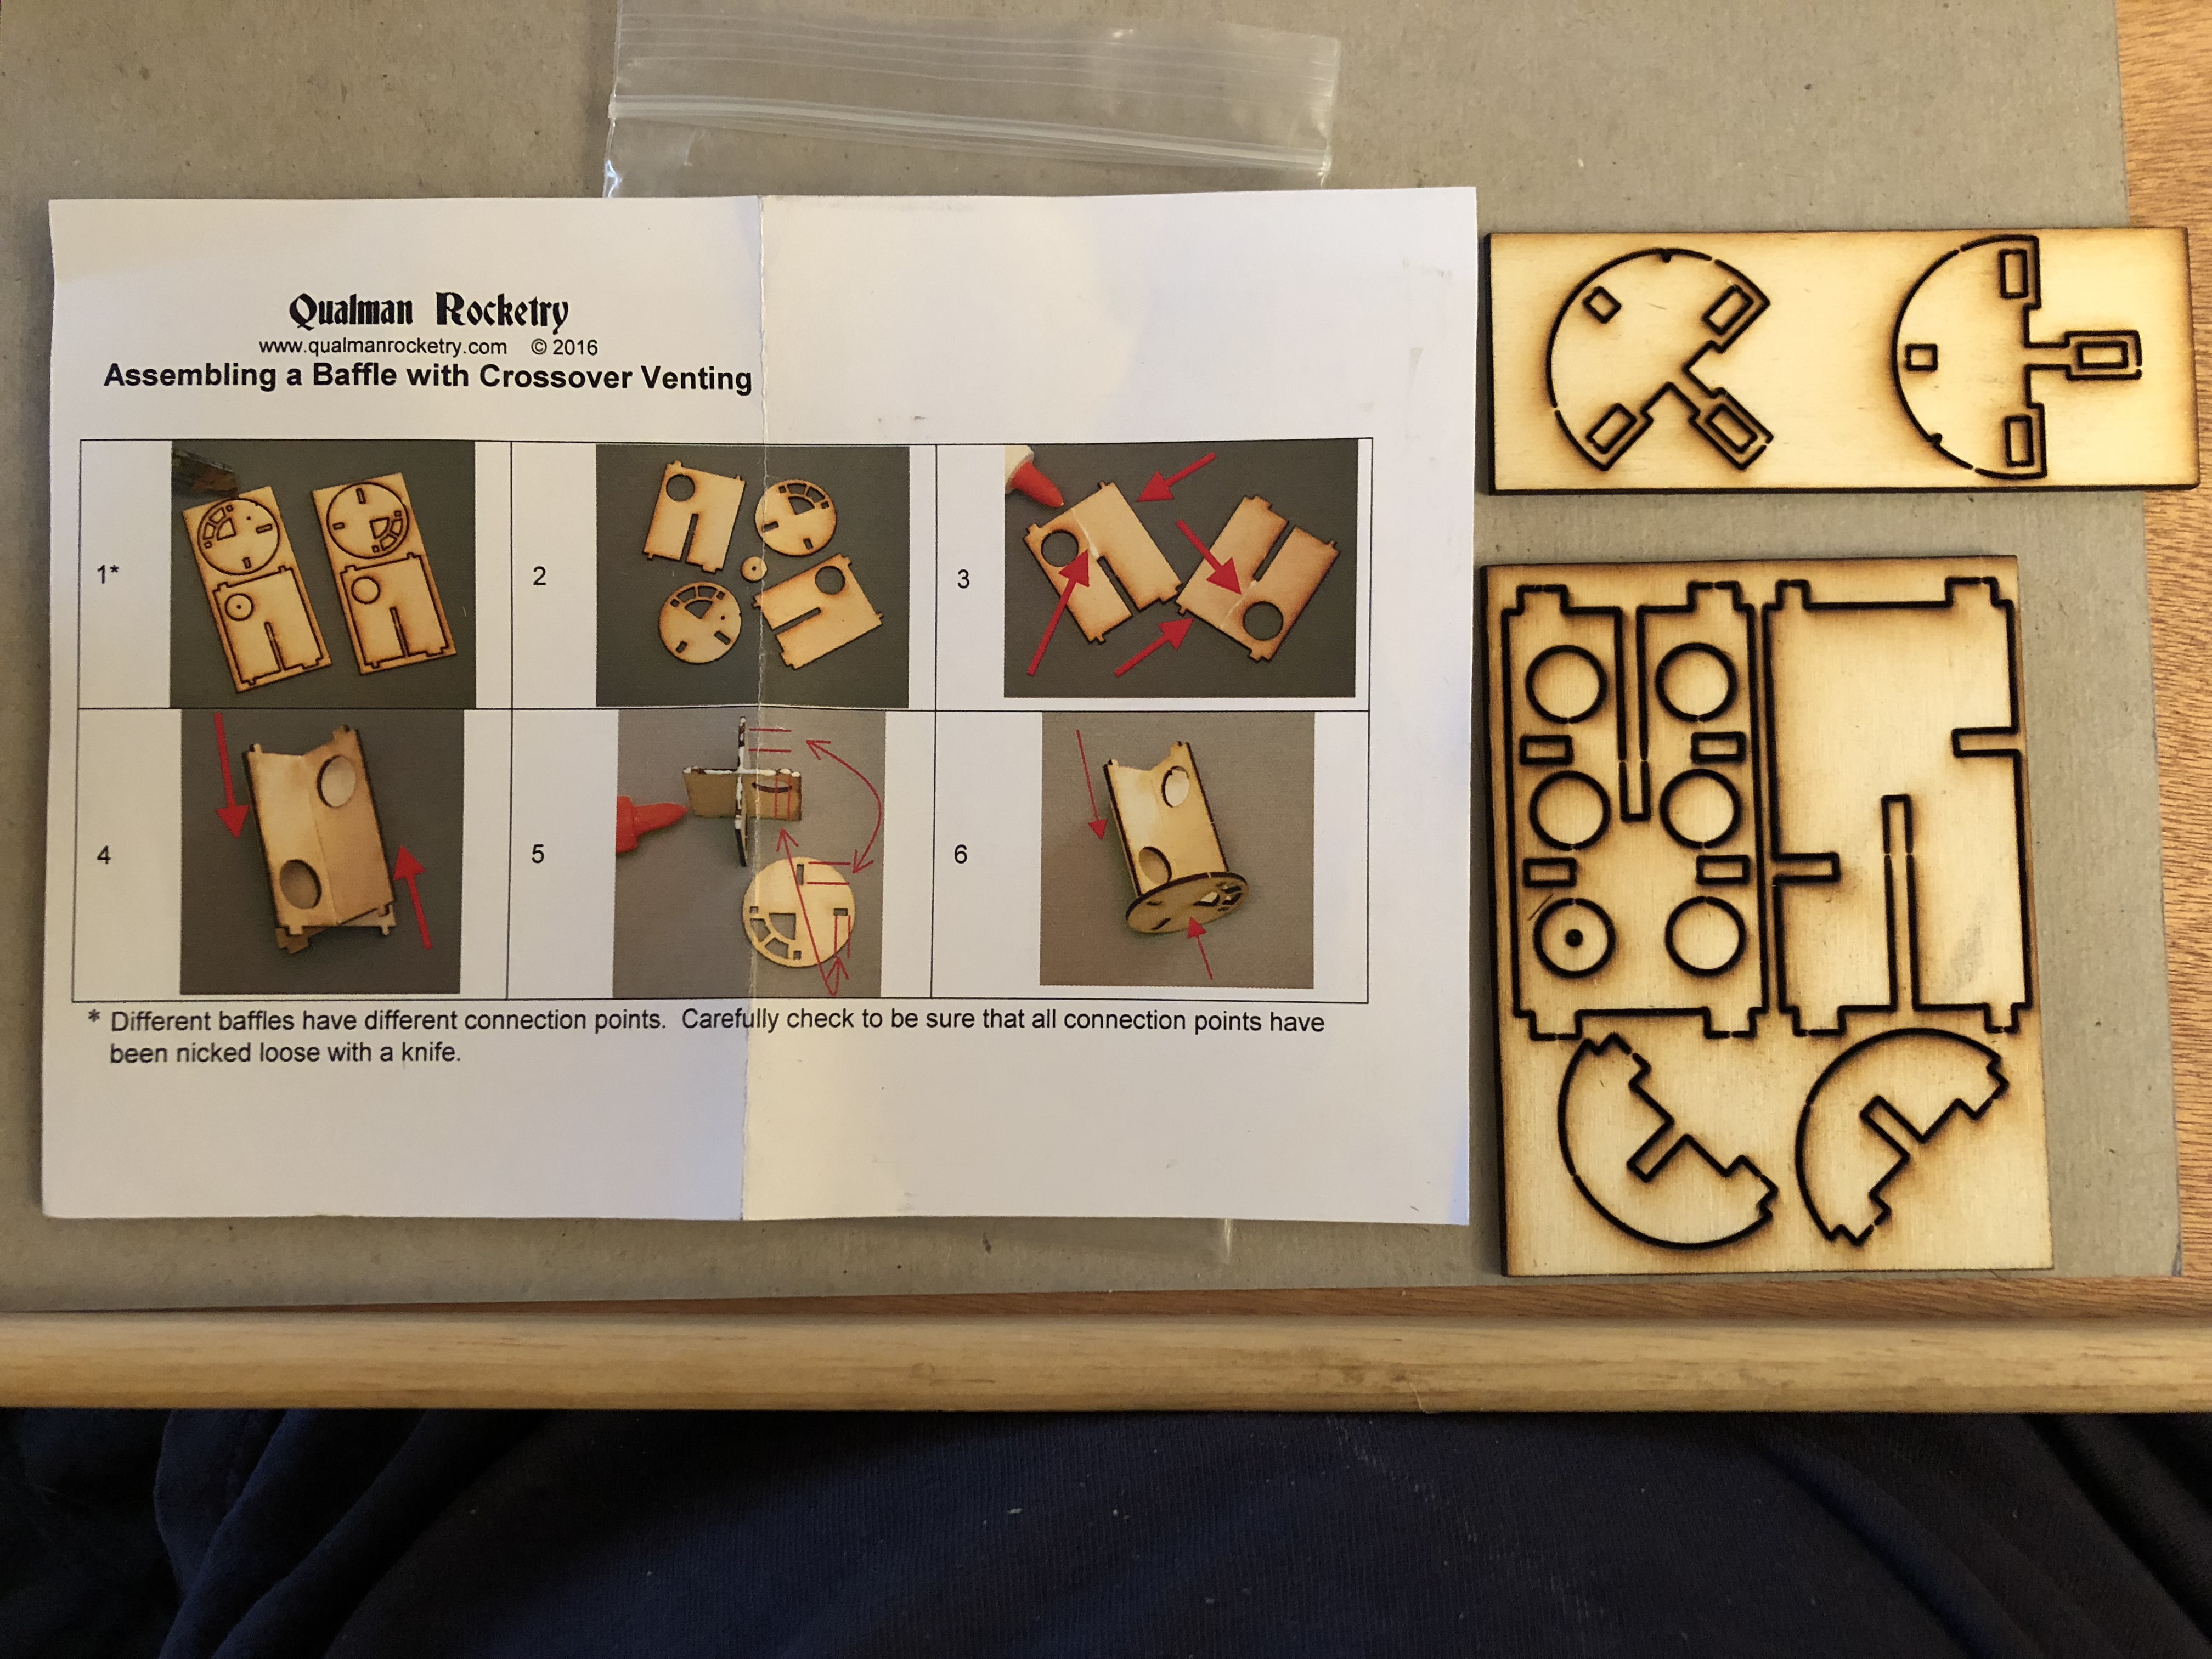
The next step was to glue the motor mount into the fin can using plastic cement glue per the instructions. Before gluing the fin can to the aft end of the body tube, I assembled the baffle kit. The kit consists of laser cut plywood patrts and is easy to assemble if you follow the included instructions. I used an X-Acto hobby knife to cut out the parts and lightly sanded the mating edges before gluing the parts together.
This is what the finished assembly looks like with the Kevlar shock cord attached by making a knot and sliding the cord into the slot in the upper baffle bulkhead. I've also added a little artwork to show how the hot gases from the ejection charge entering the baffle are cooled down by winding their way through the various cutouts such that the gases are cool enough leaving the baffle that the parachute won't melt !
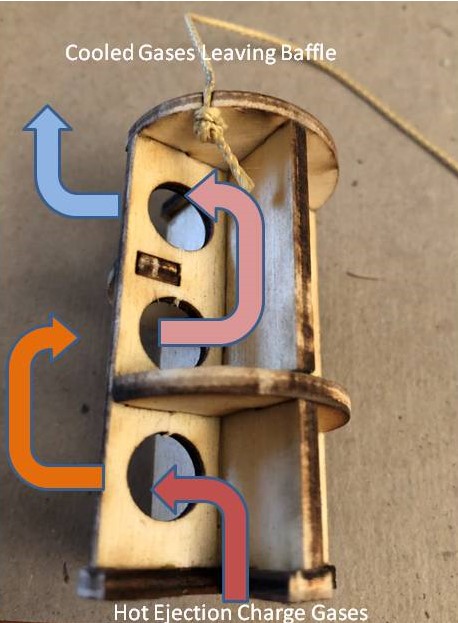
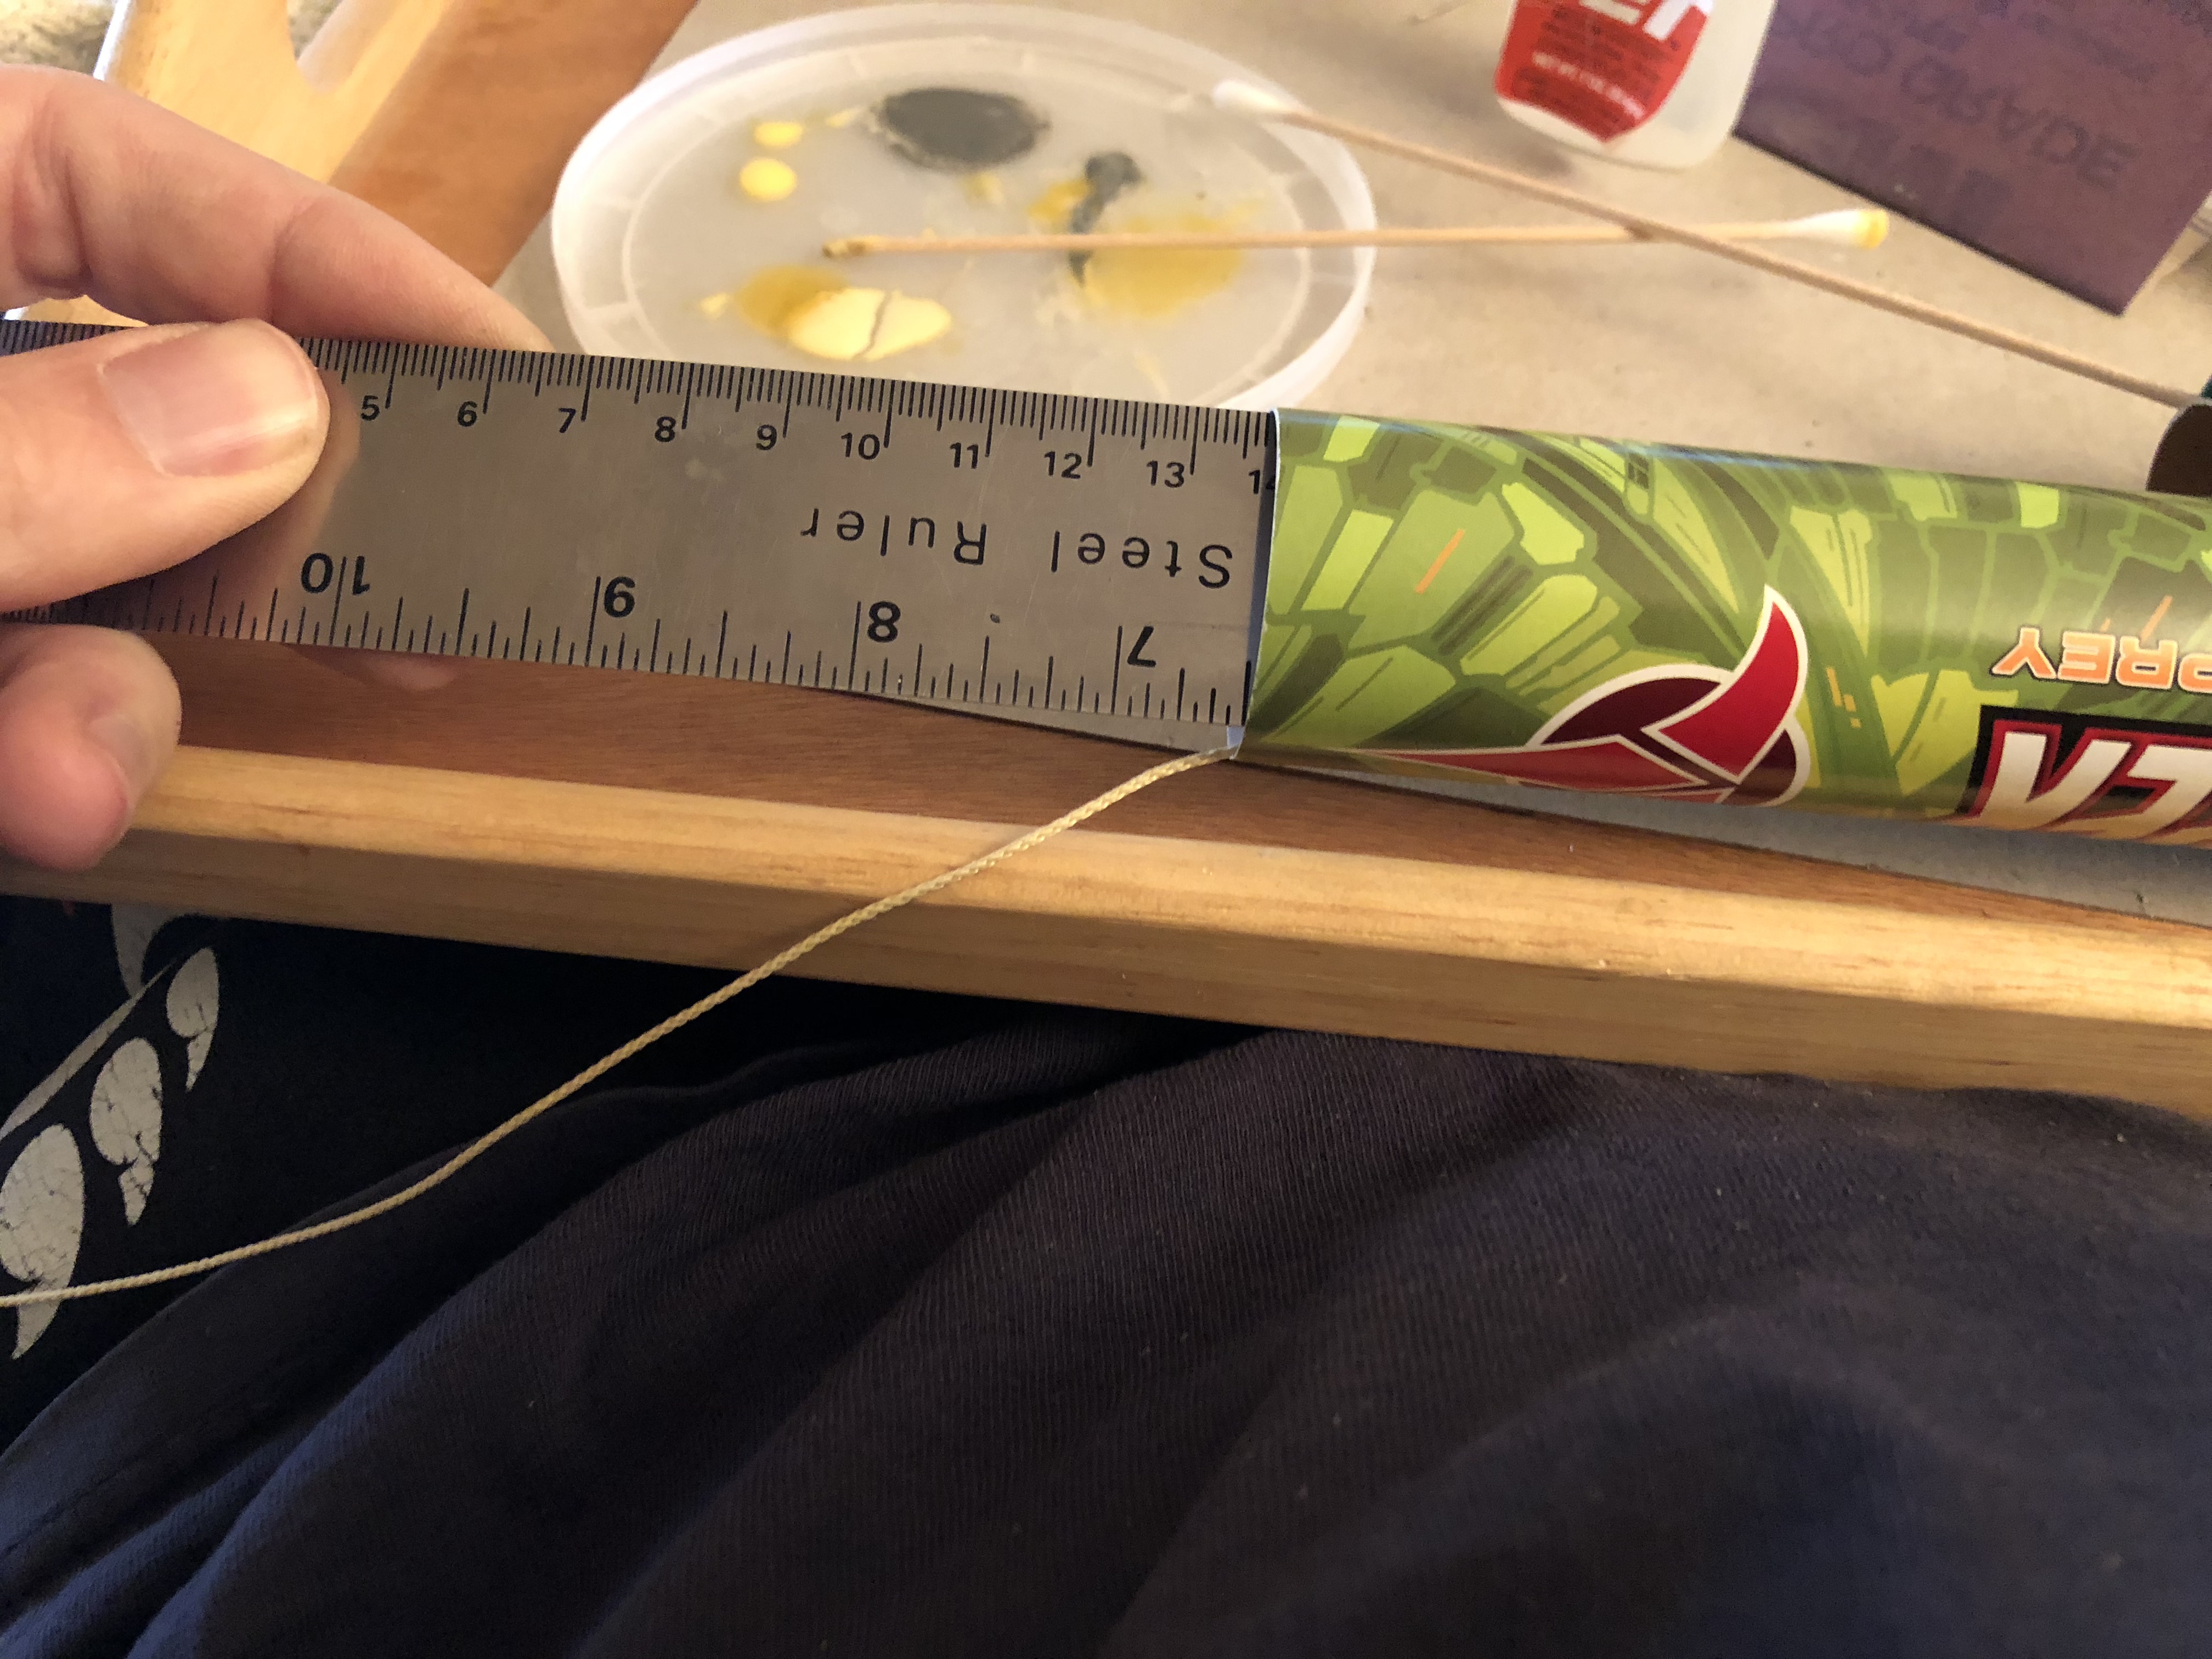
The baffle should be placed about 2 inches above the top of the motor mount tube to allow some room for the ejection charge gases to expand before entering the baffle. This will also place the baffle near the center of gravity so you don't end up with a CG that is too far aft since the baffle will add about a 1/2 ounce to the weight of the rocket. I smeared some medium CA glue in the middle of the body tube using a long cotton swab and then installed the baffle from the front end using a ruler until the top of the baffle was about 6 inches from the top of the tube.
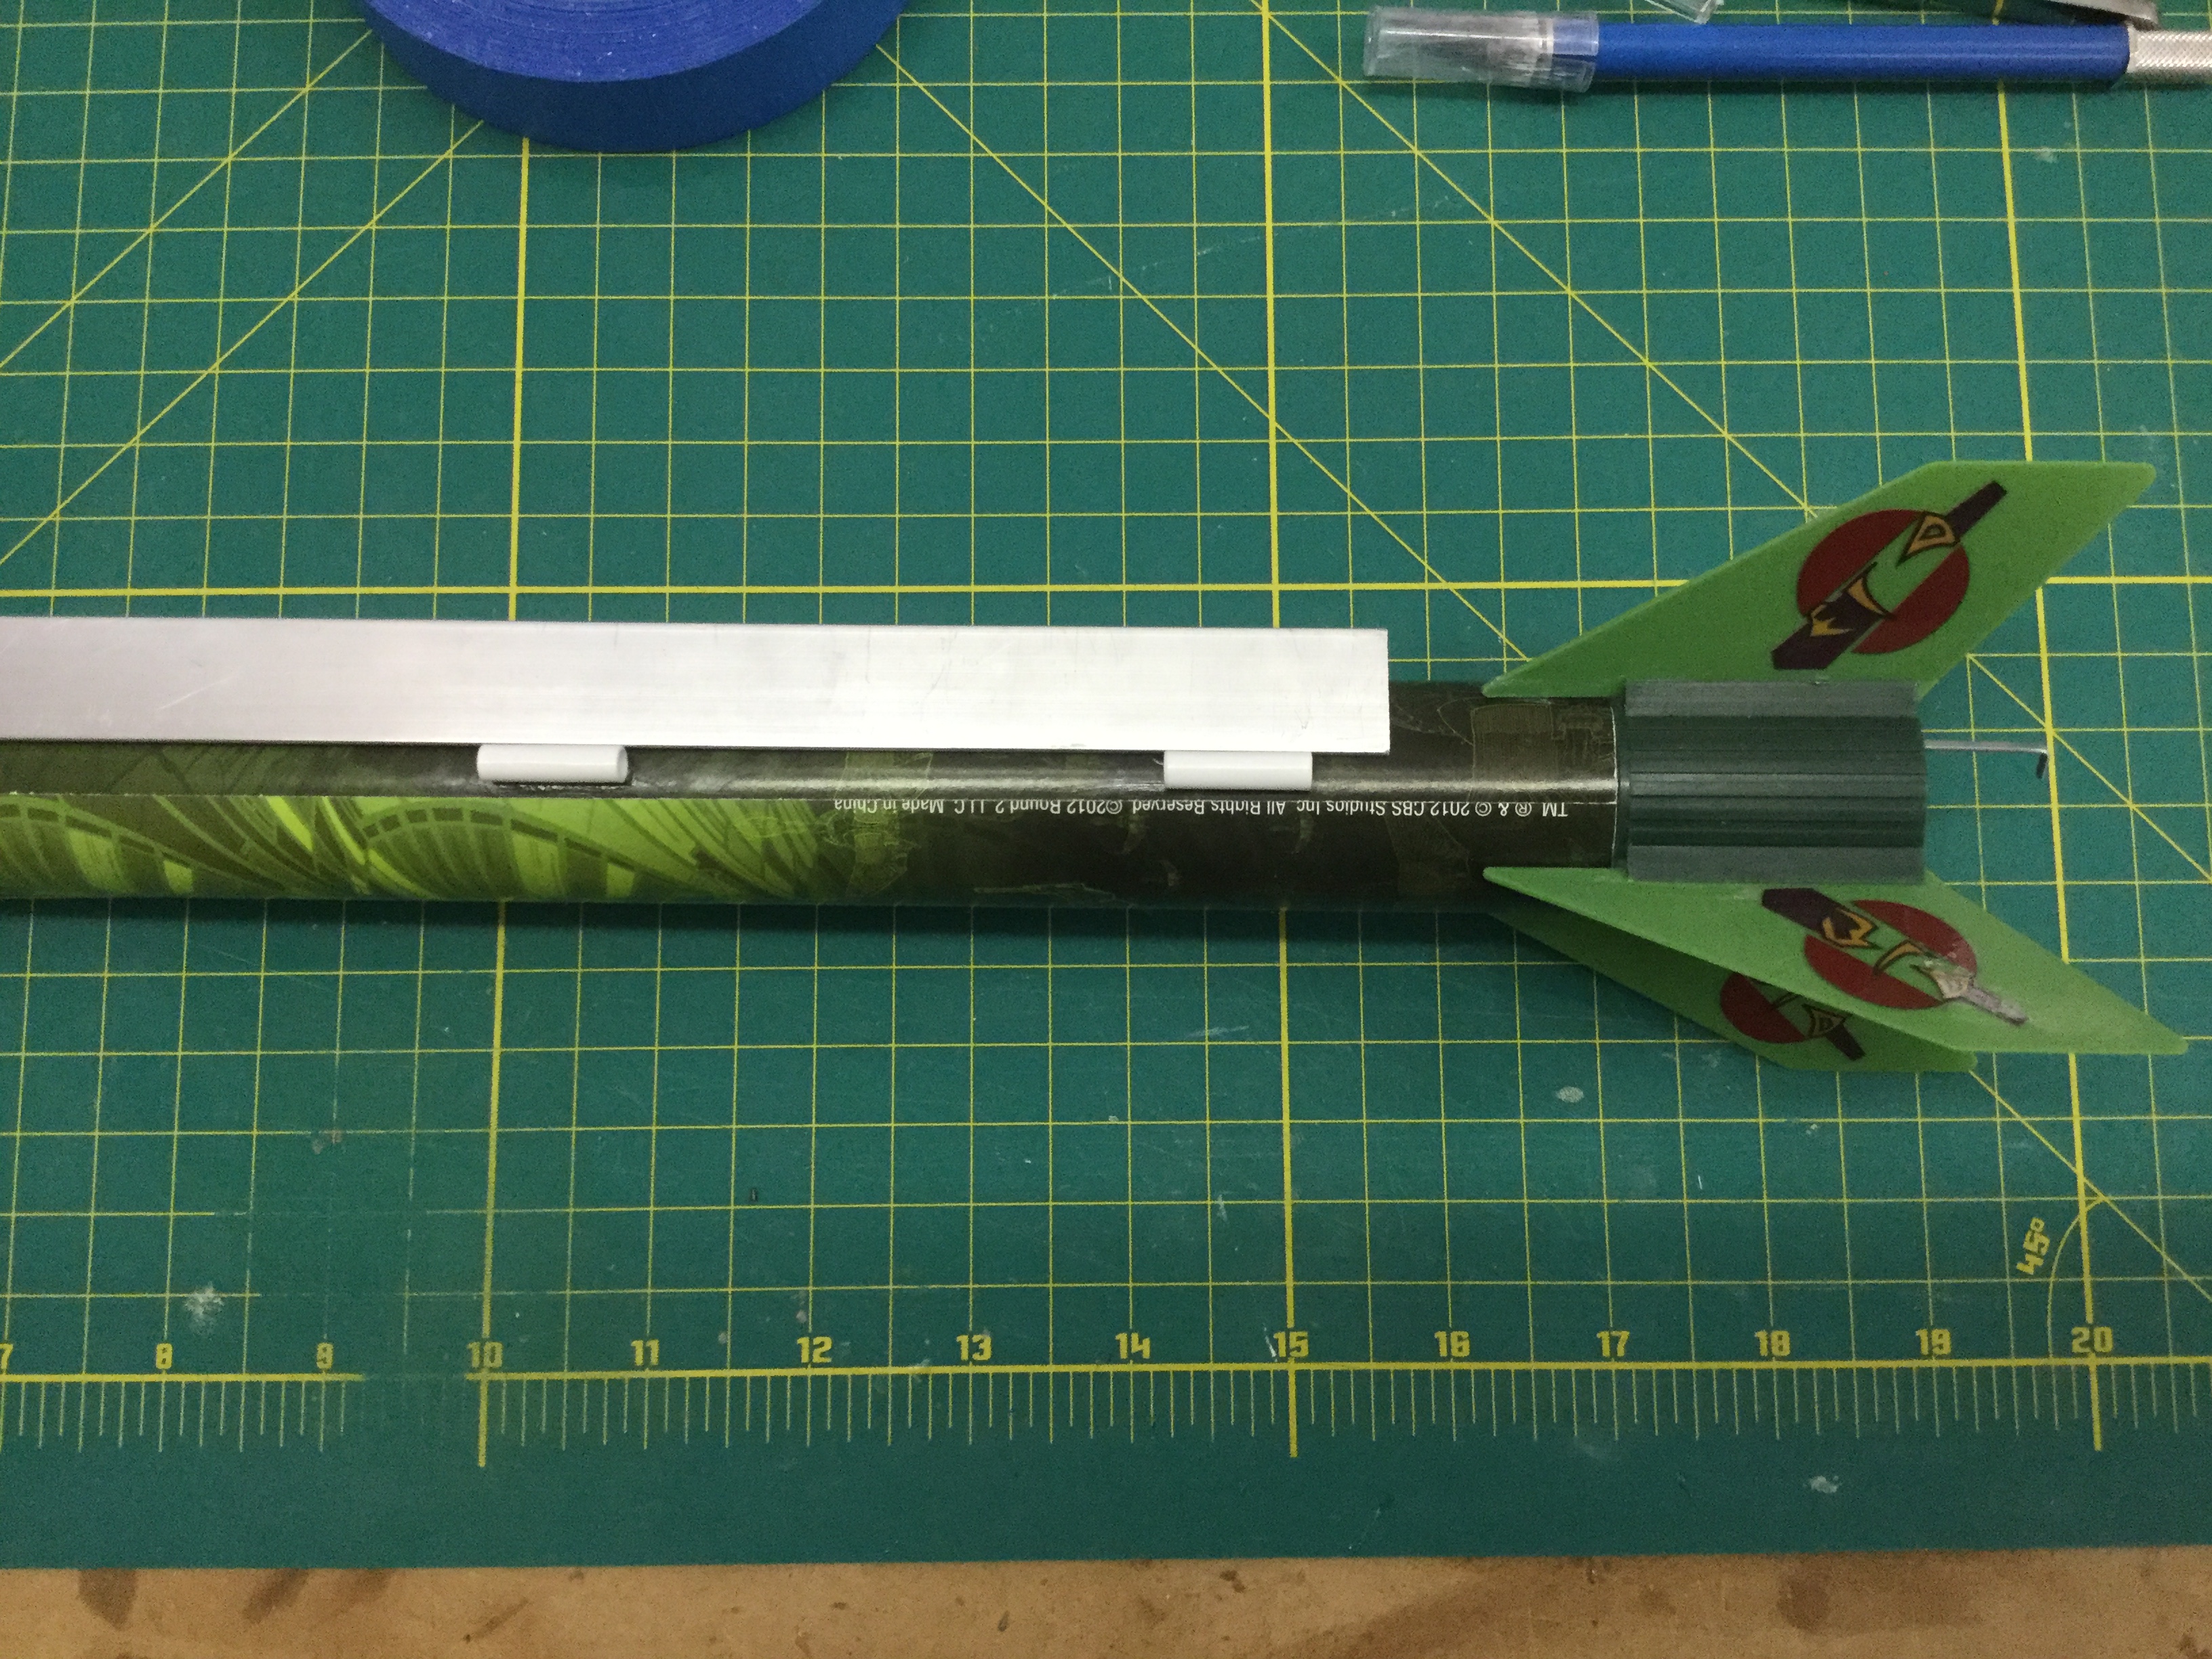
Next, the fin can was glued to the aft end of the body tube and the fins attached using a good quality plastic cement. I had to remove a little bit of flashing off the fins and did a test fit to ensure the fits slid easily into the slots before gluing. Finally, I lightly sanded the launch lugs with fine grit sand paper and glued them to the body tube. Using a piece of aluminum angle placed on the body tube is a great way to make sure the launch lugs are properly aligned.
I made the parachute per the instructions and tied one end of the included elastic shock cord to the end of the Kevlar string. The other end of the elastic cord was tied to the nose cone and the parachute attached as well.
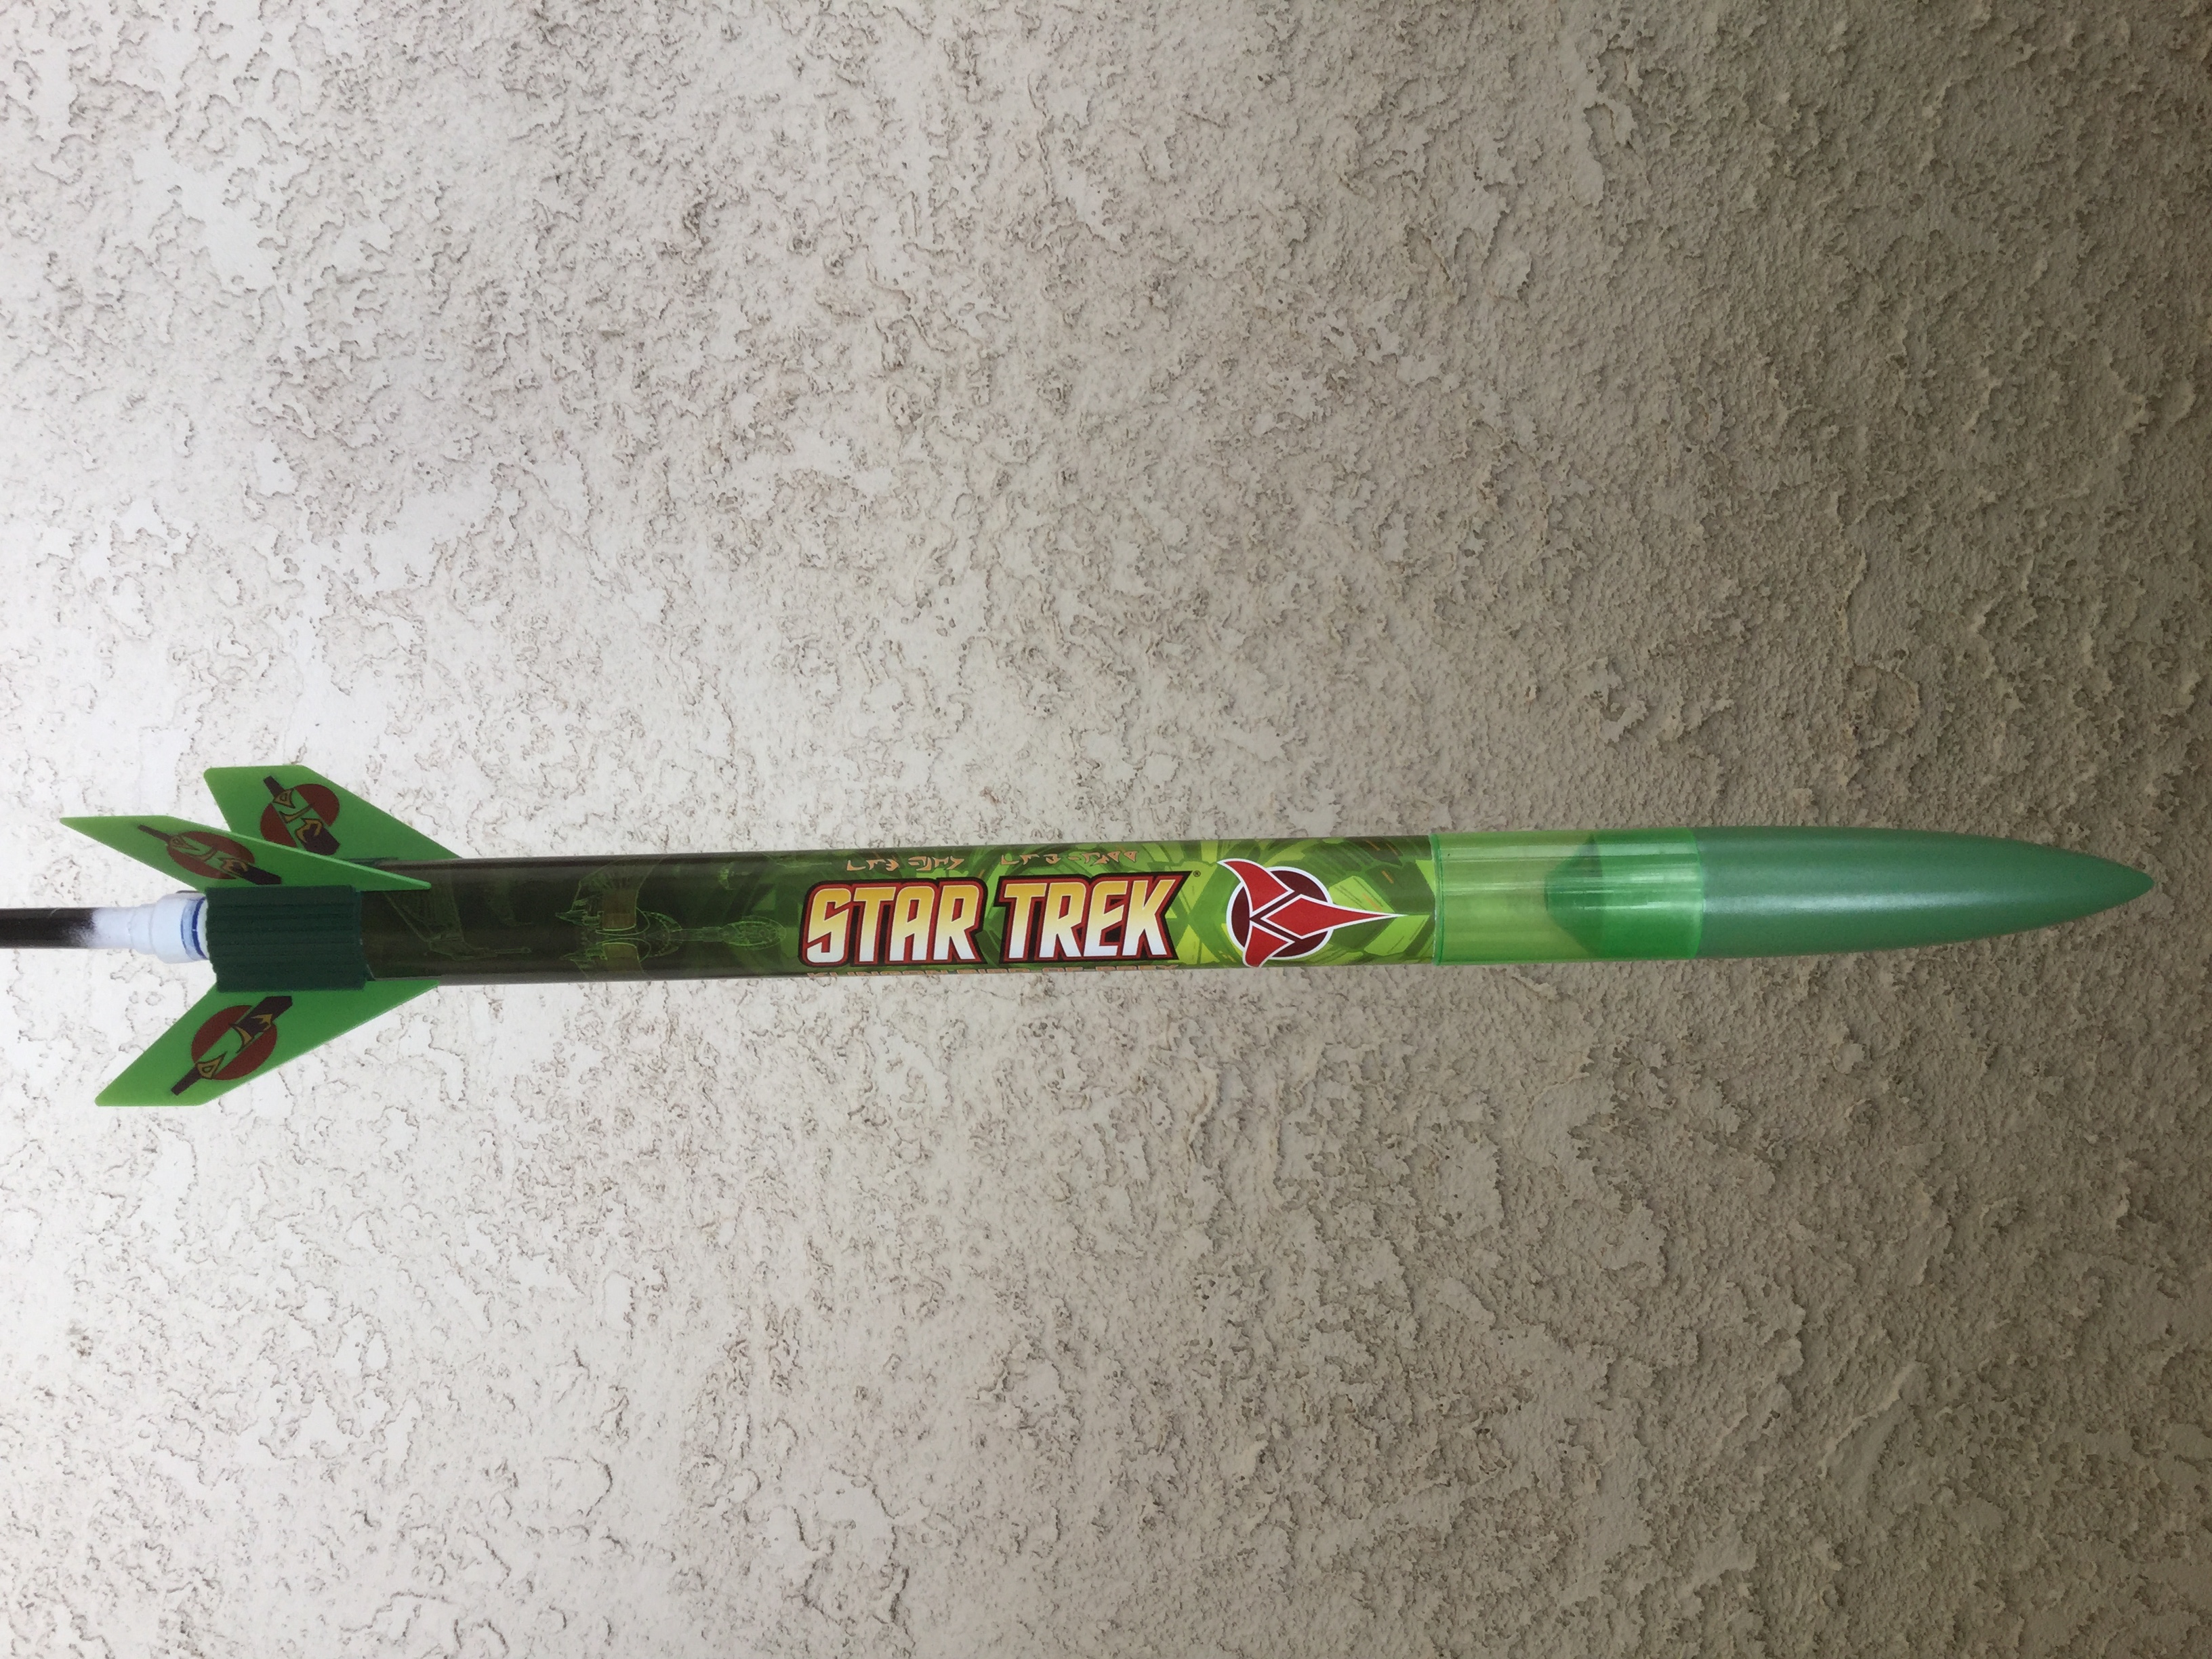
Overall, the MPC Star Trek Bird-of-Prey flying model rocket kit was an enjoyable and fast build with good quality components. Even with the addition of the Qualman baffle, it took me less than 3 hours to complete the rocket. I'll provide a post-launch update on the baffle performance as soon as the weather cooperates...
Click the link to see our selection of MPC Model Rocket Kits
Recent Posts
-
Red Endbell AFX Mega-G+ HO Slot Cars
AFX Mega-G+ HO slot cars that come with the new red endbell motor: 22052 AFX Mega-G+ Ford GT Herita …Jan 2nd 2026 -
AFX 2025 Product Changes
New AFX Mega-G+ Motors The new AFX Mega-G+ motors are now red in color. They match both the sh …Apr 3rd 2025 -

BRS Hobbies AFX Mega-G+ Tire Chart
Here is a tire chart comparing the various AFX Mega-G+ rear tires that are available at BRS Hobbi …Jan 27th 2024